
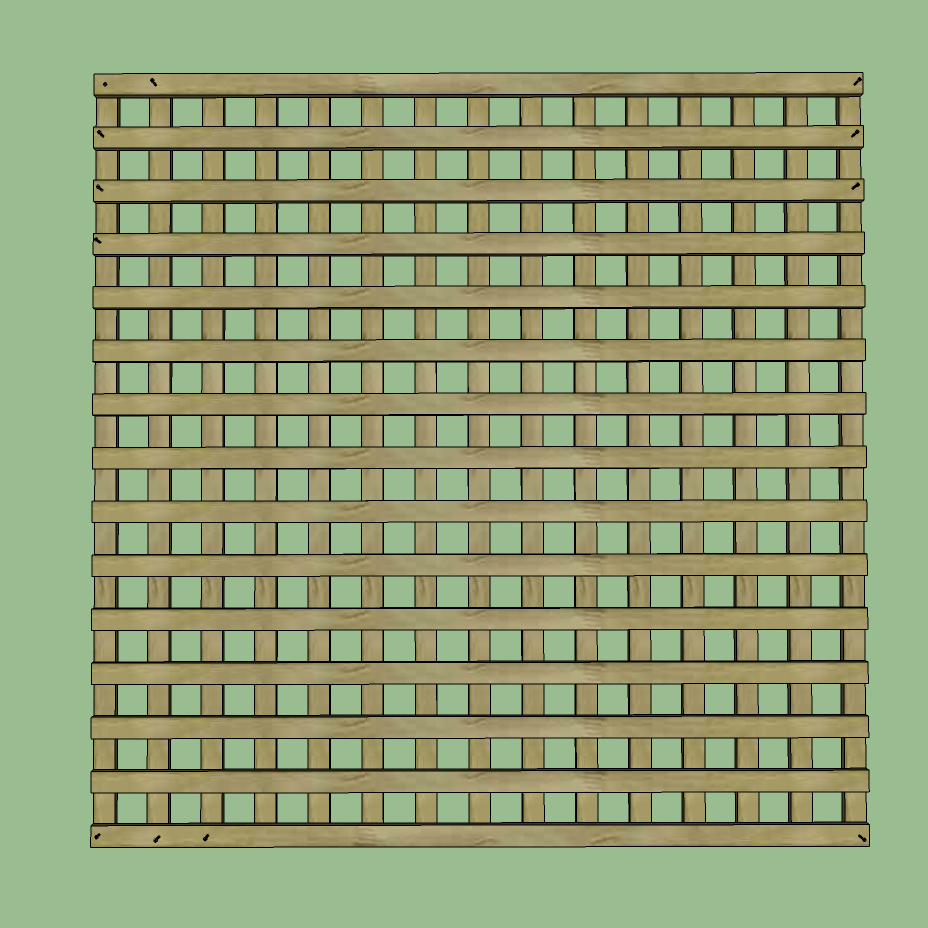
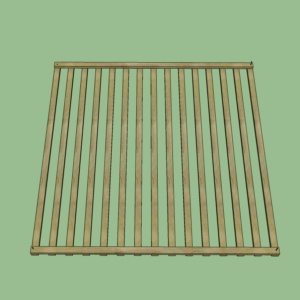
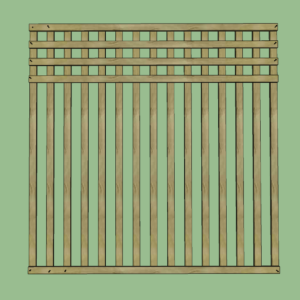
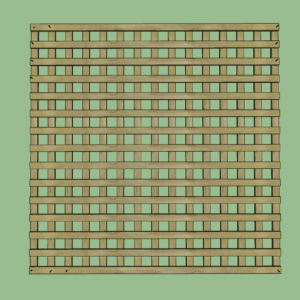
Trellis can be purchased ready made from garden centres and DIY stores but it is in a limited range of sizes, you only have one spacing for the lathes and it is often quite light weight. A far better way is to make it yourself from pressure treated timber and you can chose any sizes and the spacing of the lathes. Closer together for more screening or to provide a wind break they can be spaced to give you the 50% optimal permeability.
Materials:
- 50 mm x 25 mm Tannalised softwood (tile lathe)
- Wood saw
- Battery drill/driver
- 40mm x 3.5 mm countersunk woodscrews
- Tape measure
- Set square or combination square
Method:
- Decide on the overall height and width of the trellis panel.
- Enter the dimensions into the table below.
- Adjust the the spacing of the lathes to get the spacing you would like. For a wind break a trellis density of about 50% is idea.
- Cut the length shown at the bottom of the table.
- If you plan to stain the trellis do it now before you assemble it.
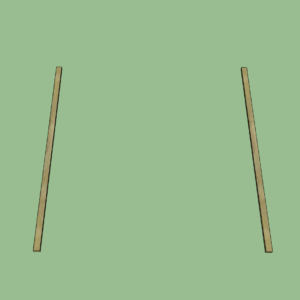
- Take two of the pieces which are to be the vertical parts of the trellis on a level surface the width of the trellis apart.
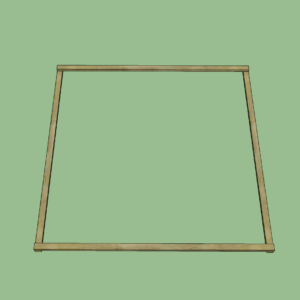
- Connect the ends with two of the horizontal, fixing them with width a wood screw.
- Arrange the remaining vertical pieces under the horizontal pieces attached in part 7 above.
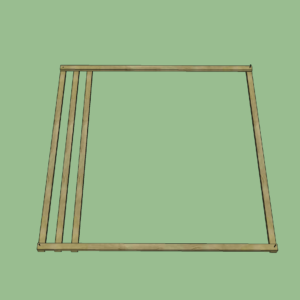
- Cut a piece of wood the length of the distance between the vertical pieces and use it to space them. Adjust if necessary and secure to the top and bottom pieces by screwing through them into the ends of the vertical pieces.
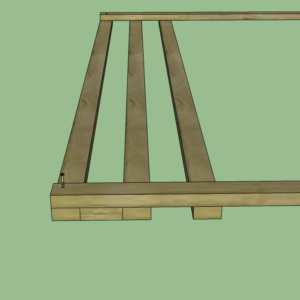
- Arrange the horizontal pieces between the top and bottom pieces, spacing them with a piece of wood as in part 8 above and secure them at ever intersection.
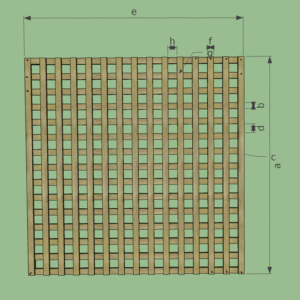
Gap between the vertical lathe (d):
mm
Horizontal Lathe Spacing
Gap between the horizontal lathe (h): mmTrellis density: % (The higher the density the less you will see though the trellis.)
Cutting list:
- vertical lathes mm long
- horizontal lathes mm long